Sensor Management
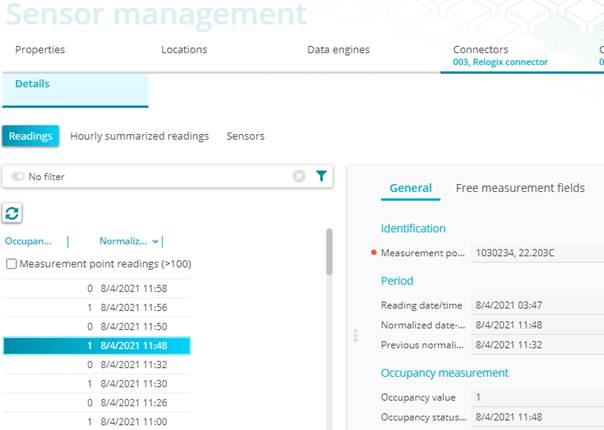
Sensor Management is the TSI where the final connection is made between Planon spaces and the sensor system. To be able to get the final connection, complete the following steps to get the right results.
The tabs Properties and Locations are skipped, because these are fixed and a summary of data that is already mentioned earlier in this document.
Data engines
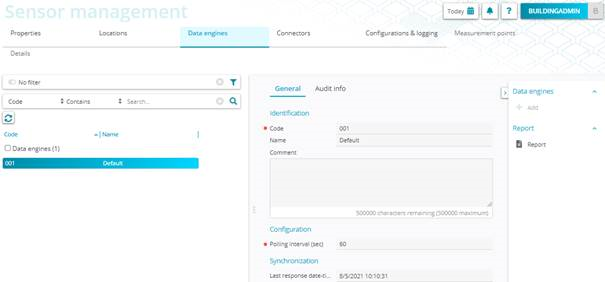
In Data engines there is already a Default Engine defined. Check the settings:
• Polling interval (sec) = 60
• Last response date-time = If that is today it seems to be running.

Connectors

Planon Workplace Insights is using Connectors for the connection with the measurement points of the sensor vendor to get readings into Planon.
Planon Workplace Insights is using Connectors – Onboarding to be able to auto onboard measurement points from the sensor vendor.
Custom managed connector
This section describes, at this moment, Customed Managed Measurement Point. This is because we deploy Insights mainly for customers that are using the mentioned Connectors, see also Connectors (Space & Reservation Manager).
Create the connectors via Action button Add Customed Managed Measurement Point.
When all steps above are taken, you should be able to fill in the fields as shown below, with of course the correct related data.
For example, the connector as shown below.
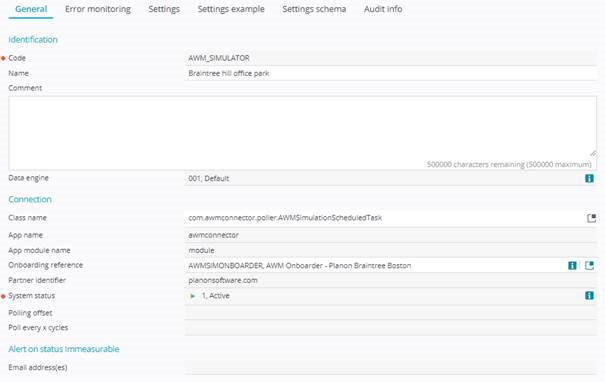
When creating a connector for Vergesense, the defined code for the connector is to be set in the Connector app > Module settings. For example, when you define the code as XXX_Vergesense, this code needs to be placed, as is, in the module settings of the app. See the following example:

Configuration & logging
Within this selection level you need to define the Measurement point definition via button Add Measurement point definition.
Populate the following fields:
• Code
• Name
• Connector
Save the definition.
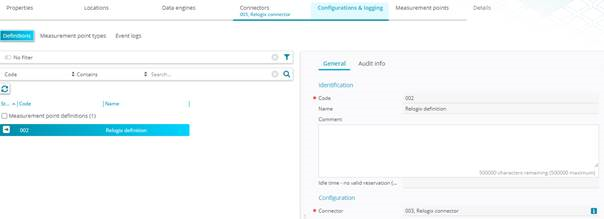
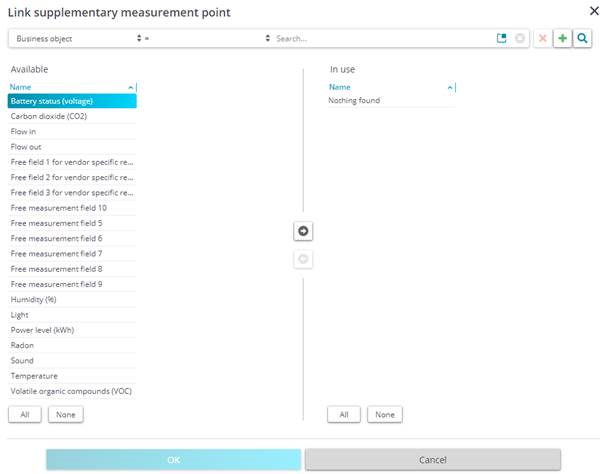
When you save the Measurement point definition, and the linked connector is inactive you can define Linked supplementary measurement points.
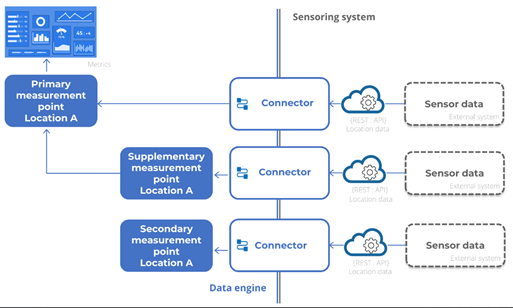
In the Planon application, a measurement point is distinguished by its role.
A measurement point can be either of the following roles:
• Primary measurement point This is the main measurement point for collecting data (data of all subordinate measurement points is aggregated to this measurement point). A primary measurement point can be used to display availability (in Kiosk, CAD viewer, apps):
◦ Primary A: the readings of the measurement point are used to determine the location's availability. Kiosk, CAD viewer, mobile apps will display the availability of the location based on the values of the measurement point.
Environmental readings of supplementary measurement points will be stored here for display in Kiosk or apps. The Display availability field will be set to Yes.
◦ Primary B: the reservation for a location rather than the measurement point reading is leading in determining its availability. Kiosk, CAD viewer, mobile apps do not use the measurement point but if the location is a reservation unit they display the reservation data. The values about occupancy on the measurement point do not need to be empty, they can still be used for insights into the space usage.
Environmental readings of supplementary measurement points will be stored here for display in Kiosk or apps. The Display availability field will be set to Yes.
• Supplementary measurement point This type of measurement point is introduced to process data correctly when using multiple connectors per location. When doing so, it is important to ensure that data of one connector is not blocking the data of another connector. This is achieved by using supplementary measurement points. Its data is passed on to the primary measurement point (A or B). Supplementary measurement points are not used to record occupancy, but a set of environmental data:
◦ Free field 1/3 for vendor specific readings
◦ Battery status
◦ Carbon dioxide
◦ Humidity
◦ Light
◦ Noise
◦ Power level
◦ Temperature
◦ Radon
◦ Volatile organic compounds (VOCs)
◦ Particle matter (PM2,5 / PM10)
◦ Free measurement field 1-10
In order to know which data should be copied, you must link the data fields to the respective supplementary measurement point.
The readings of supplementary measurement points are stored at the primary measurement point. They are not stored on the supplementary measurement points themselves to ensure system performance.
• Secondary measurement point
Rather than occupancy, this type of measurement point is meant for providing auxiliary information, such as whether the waste bin is full or for testing new sensors. Consequently, its data is not collected and aggregated to the primary measurement point.
Measurement points
In this Selection level the final connection is made between the location and the sensor. For a measurement point you need to know the following values (fields):
• General tab:
◦ Code = (Sensor ID received from vendor)
◦ Name = (Space code from Planon)
◦ Measurement point definition
• Configuration tab:
◦ Maximum capacity (no.) = Depending on the type of space (meeting room for example 8, desk normally 1)
◦ Property, floor, space = Only 1 can be linked to a measurement point.
◦ Time zone = auto populated when saved and set to active (based on time zone linked to building of the related space. When building has no time zone set, it will autofill with the Default Time zone).
◦ Calendar = auto populated when saved and set to active (based on Calendar linked to building of the related space. When a building has no Calendar set, it will autofill with the Default Calendar).
• Reporting tab (these need to be populated for the presentation on the Deep Dives Dashboards). These should be equal to the linked space.
◦ Property
◦ Floor
◦ Space category
◦ Space type
When Measurement point is created (saved) set the measurement point to Active.
When this last step is done, and all other connectors are active you should get the first results of readings in about 5 minutes.
